Best Way To Add Blank Lines & Space In WordPress Editor
If you’ve used WordPress even just a little bit, you’ve probably come up against the fact that it’s really hard to add extra space into the editor. You can only hit “return” a couple of times before it starts eating those extra line spaces you’re trying to create.
So if you want to create extra empty space in your page or post – anything beyond a paragraph break or two, you’ve probably pulled your hair out. This guide will show you the reliable ways to work with spacing in WordPress.
Adding a blank or empty line in WordPress
Hitting the Enter or Return key in the WordPress editor will create a new paragraph. This will leave a blank line before starting a new line.
If you don’t want to skip a line, you can use a line break instead. To do that, hold down the Shift key while pressing Enter/Return. This will start a new line without making a new paragraph.
Add a line break in a WordPress list
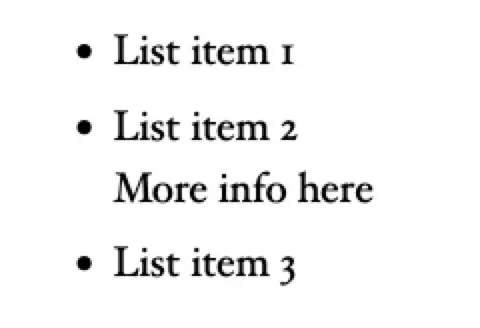
If you hit Enter while in a list, you will create a new bullet point. If you don’t want to do that, but just have a line break within the same list item (see item 2 in the screenshot below), hold down Shift and press Enter.
How to add space between letters in WordPress
To add spacing between letters in the Block Editor:
- Click on the text you want to change. In the right panel, make sure the Block options are showing.
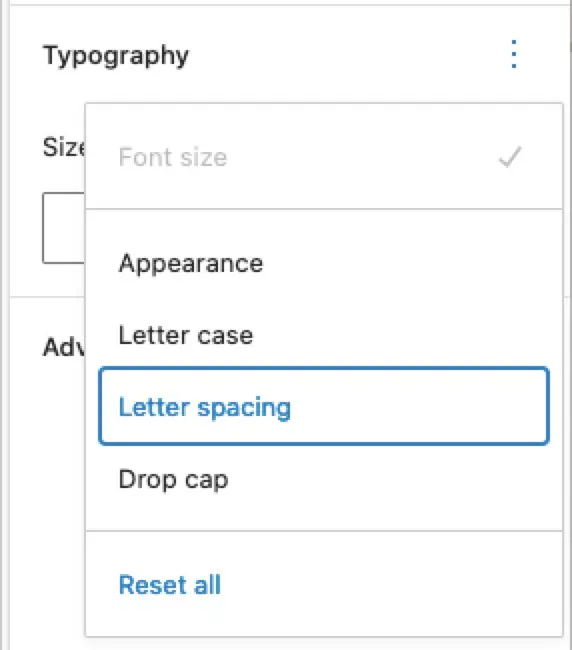
- Click the 3 dots next to Typography
- Click letter spacing
- Choose the unit of spacing and set the value.
Note that this applies to all the text in the block.


If you want to apply the spacing to specific words within the block, you have to edit the HTML directly.
- Select the block that contains the text
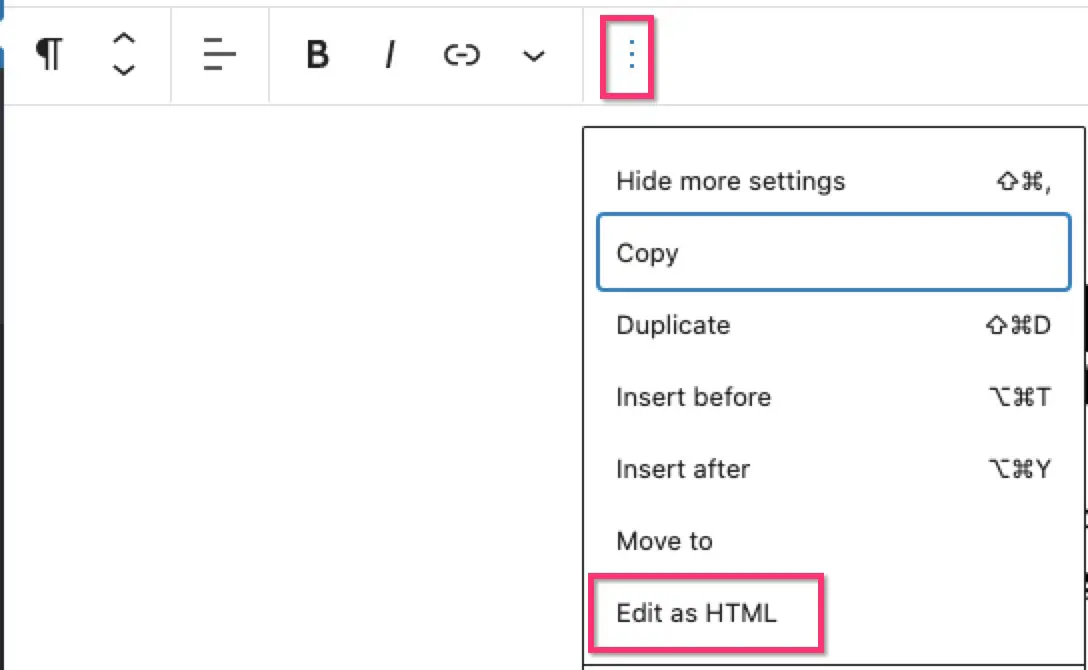
- In the top toolbar, click the 3 dots and select Edit as HTML
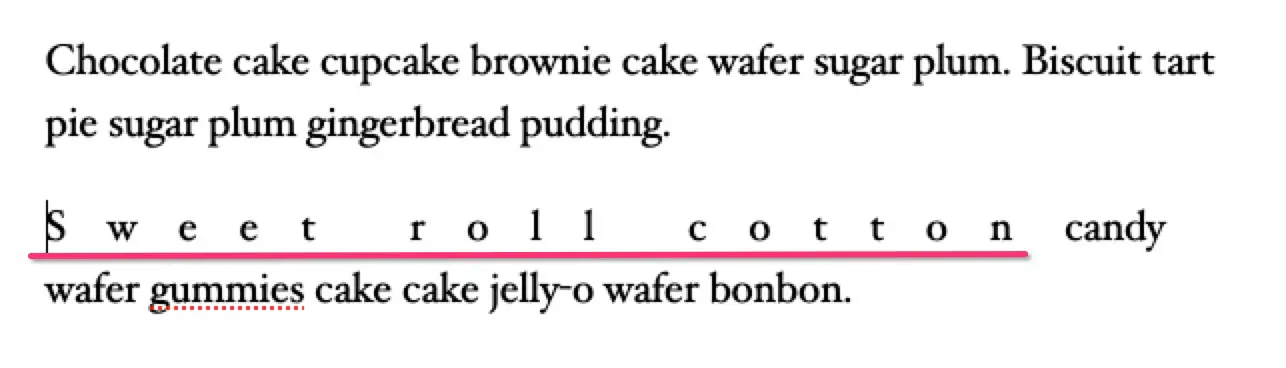
- The code we will add is: <span
style="letter-spacing:1em"> Your text here</span> - Look for the text you want to change. Immediately before it, paste:
<span style="letter-spacing:1em"> - After the text you want to change, paste
</span>– this closes the style and ends the spacing. - When you are done editing the HTML, click the 3 dots again and select Edit Visually.

How to add space between words in WordPress
There isn’t a way to do this without editing the HTML (that I have found). Possibly some plugins that extend the editor might have this feature, but since it probabbly shouldn’t be used much, adding one of those plugins just for this, would be overkill.
- Select the block that contains the text
- In the top toolbar, click the 3 dots and select Edit as HTML
- The code we will add is: <span
style="word-spacing:1em"> Your text here</span> - Look for the text you want to change. Immediately before it, paste:
<span style="word-spacing:1em"> - After the text you want to change, paste
</span>– this closes the style and ends the spacing. - When you are done editing the HTML, click the 3 dots again and select Edit Visually.

How to add spacing between blocks in Gutenberg / block editor
The Block editor makes it quite easy to add vertical space between blocks. There is a block called Spacer which is there by default.
Simply add it and then choose how much space you want to add.
You can choose any of the following units to set the space in:
- px – pixels
- em
- rem
- vh
- vw
For full explanations of these units, please see this guide.
Pixels is the simplest and one we are all mostly familiar with. The problem is that this won’t scale with different device sizes. For example, if you add 200 pixels of space, it may look fine on desktop, but may be too much for mobile.
So using one of the other relative units may be a better choice.
You can also click on the block and drag the edges to expand or reduce the size of the block.
Adding space in the Classic Editor
There’s several workarounds you can use if you happen to know HTML but that horrifies many non-techie WordPress users. Well the best way I have now found is an awesomely simple and to-the-point plugin called Spacer.