How to Migrate from DesktopServer to Local

Now that DesktopServer has sadly closed down, it’s time to move to another tool for working with WordPress locally. I’m going to be using Local (formerly Local by Flywheel) for now.
Fortunately it’s easy to migrate from DesktopServer to Local.
Local has an import tool and it just requires a zip file with your site files and your database.
This is exactly how DesktopServer’s export feature creates backups.
So first we’ll use DesktopServer to create the backup file. Then we’ll import it into Flywheel.
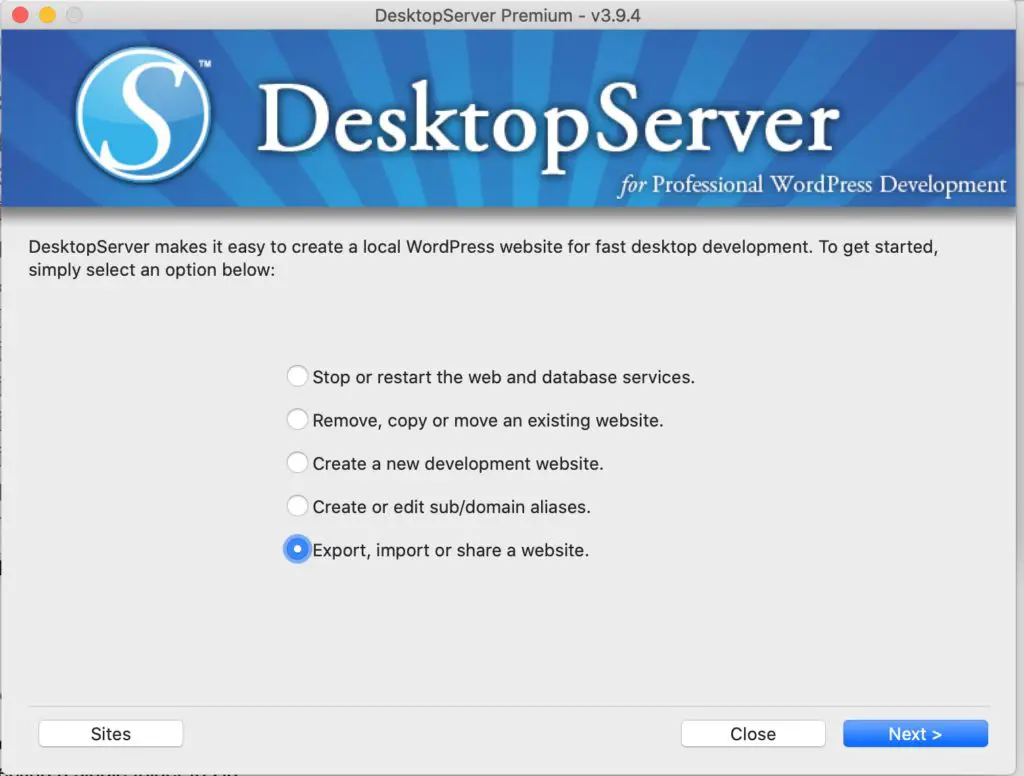
- Open DesktopServer and choose Export, import or share a website.
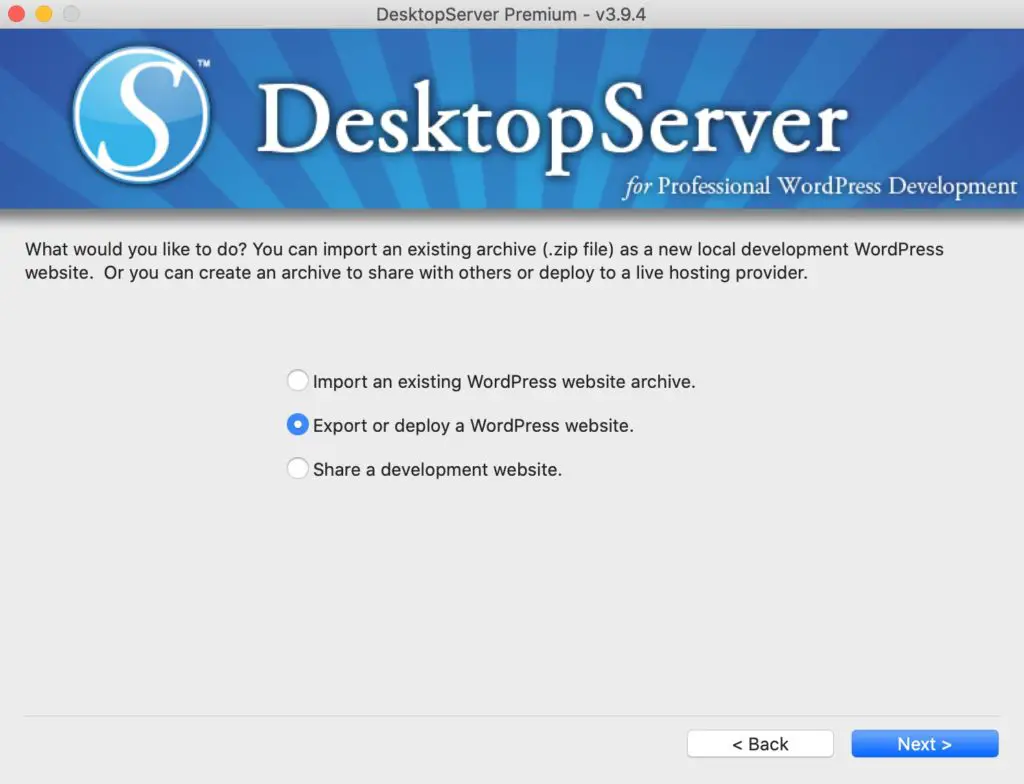
- Then choose Export or deploy a WordPress website.
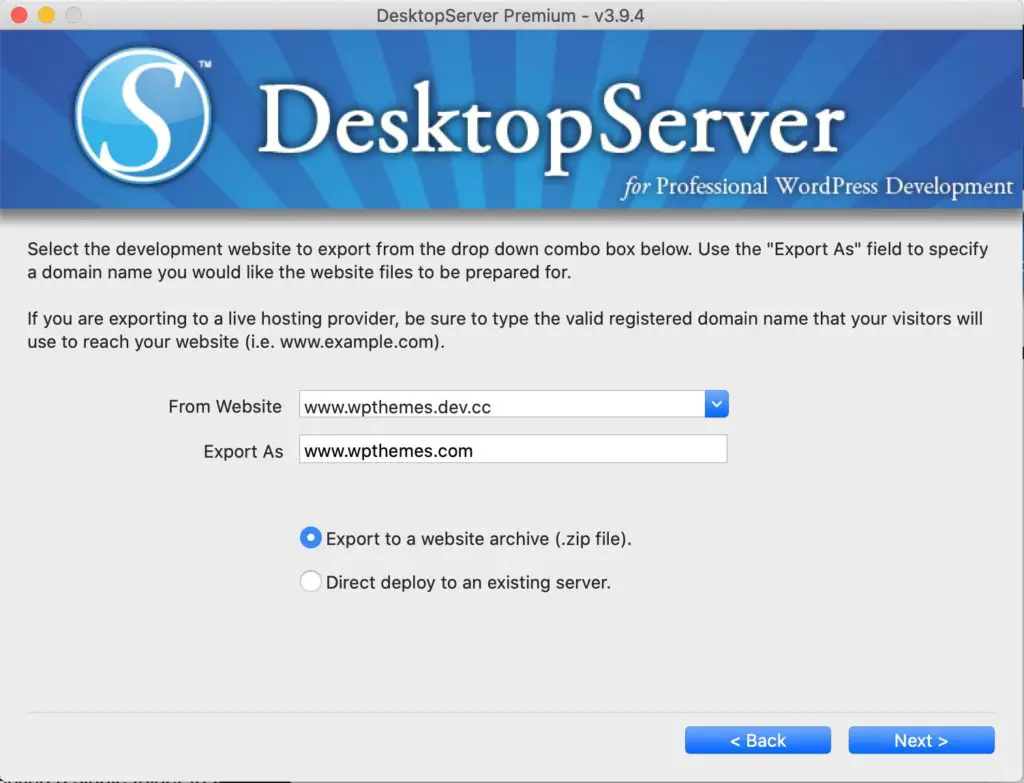
- Select which site you want to export and select Export to a website archive (.zip file)
- You can skip the next screen, just click Next
- Choose where on your computer you want the file to be saved
- Then DesktopServer will start creating the archive. This can take a few minutes especially if the site is large, so be patient. You will see a confirmation message when it’s complete.
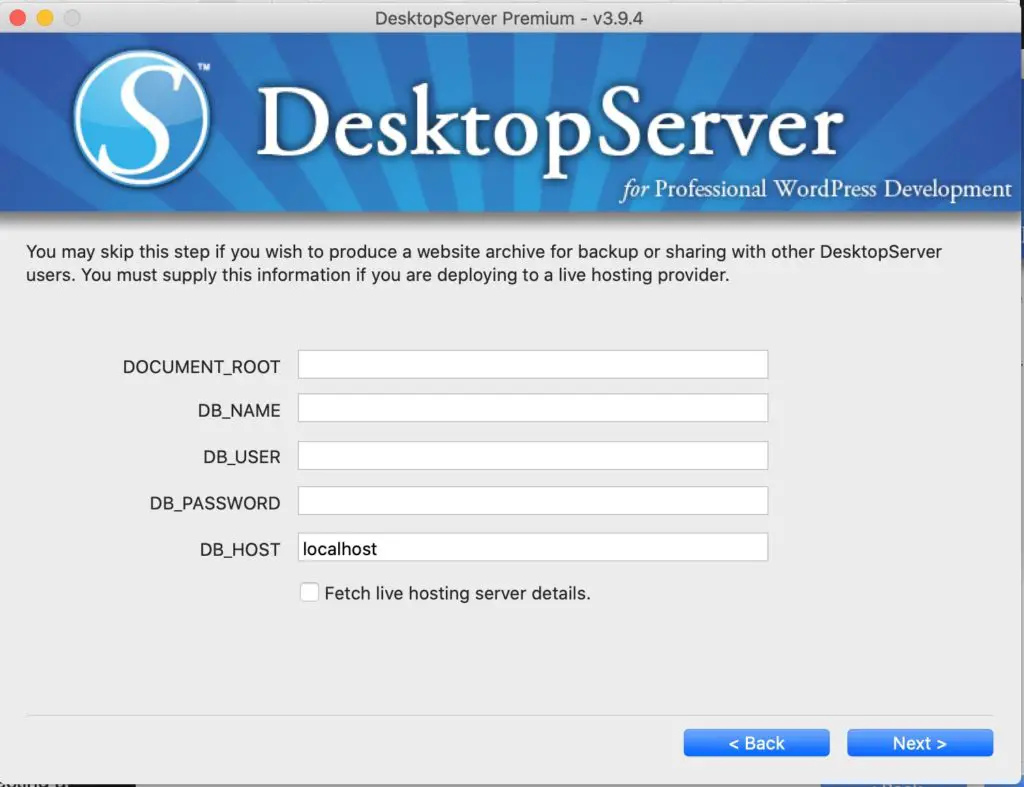
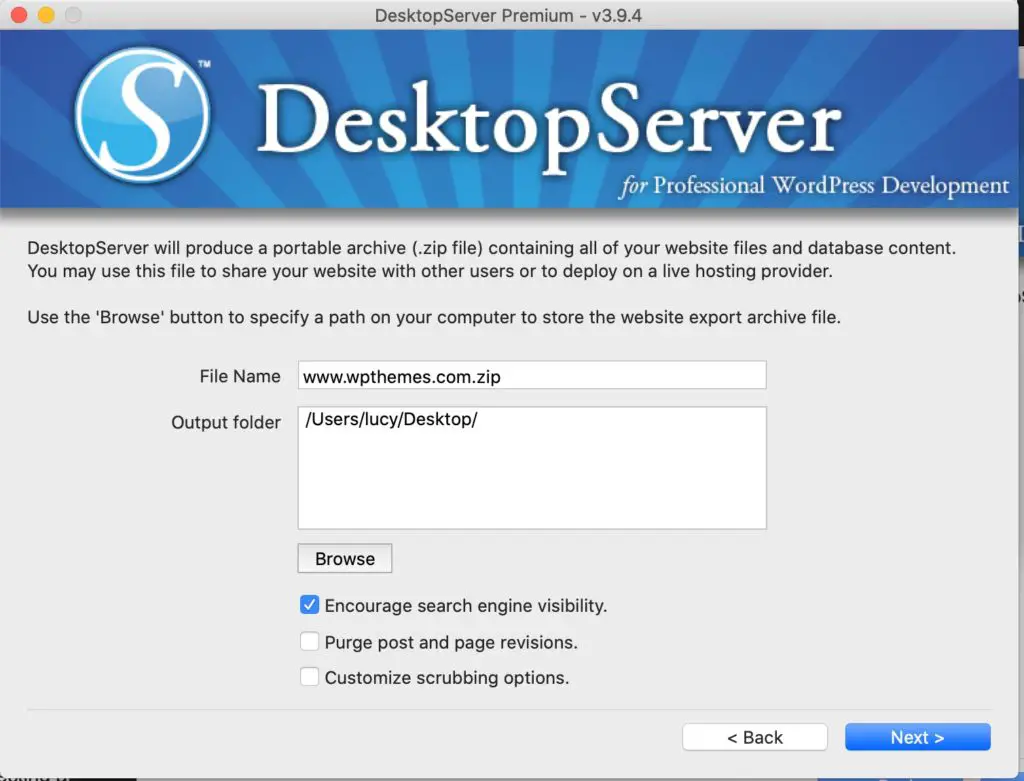
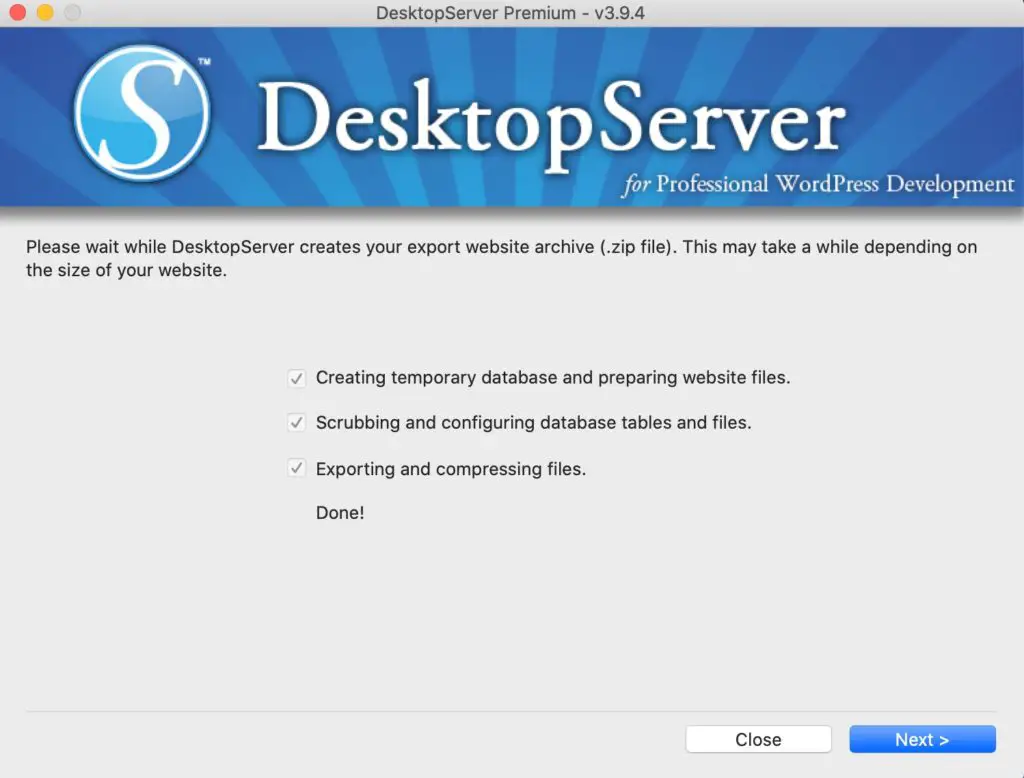
The DesktopServer section is finished now, you can close it and open up Local.
- With Local open, go to File → Import site
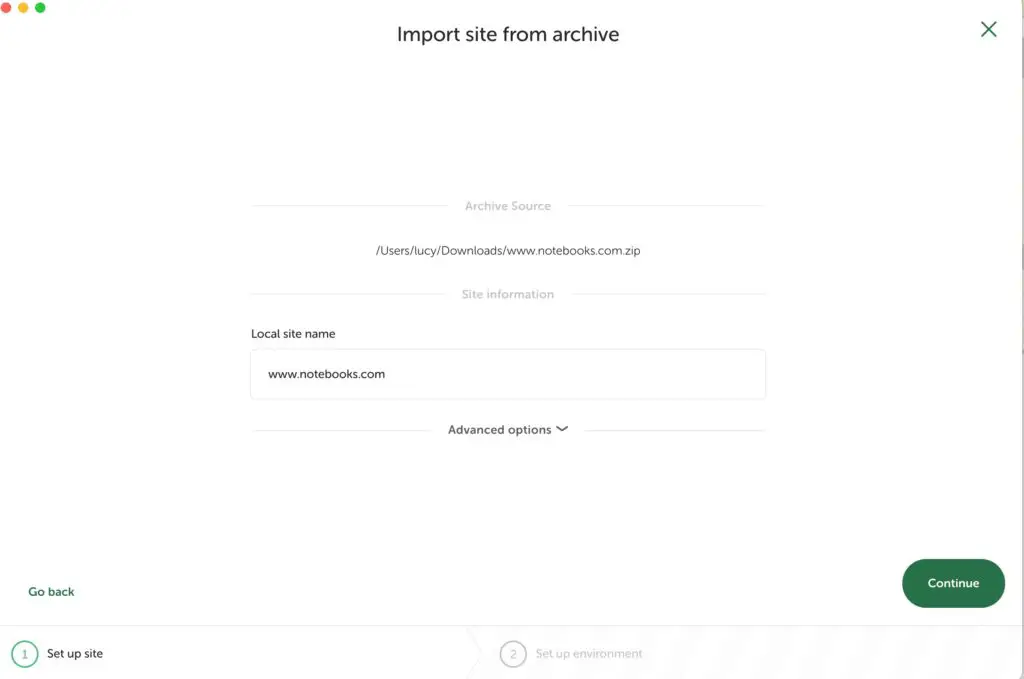
- Locate the archive zip file that DesktopServer created
- Confirm the site name and source, usually you can just leave the default
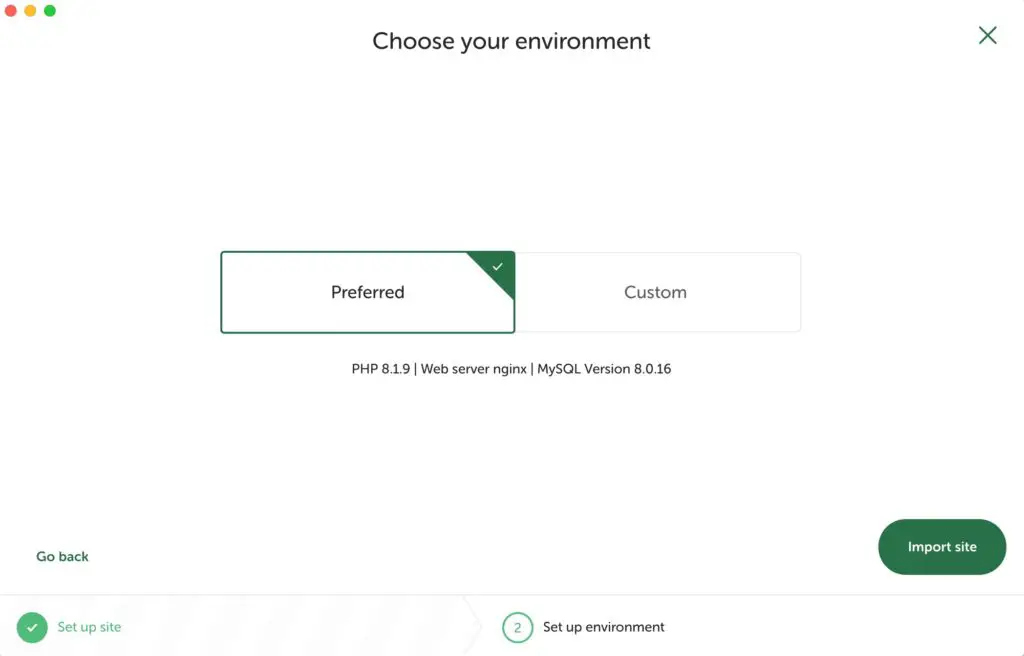
- Confirm your environment – I normally go with Preferred, then click Import Site
- Local will then automatically import the site and you’re all done!
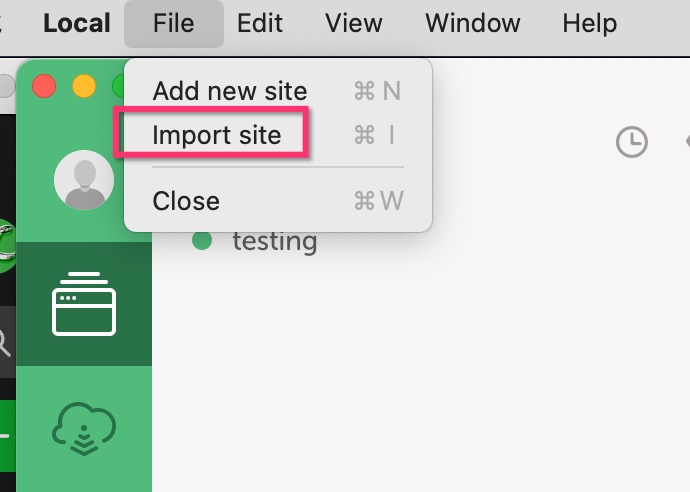
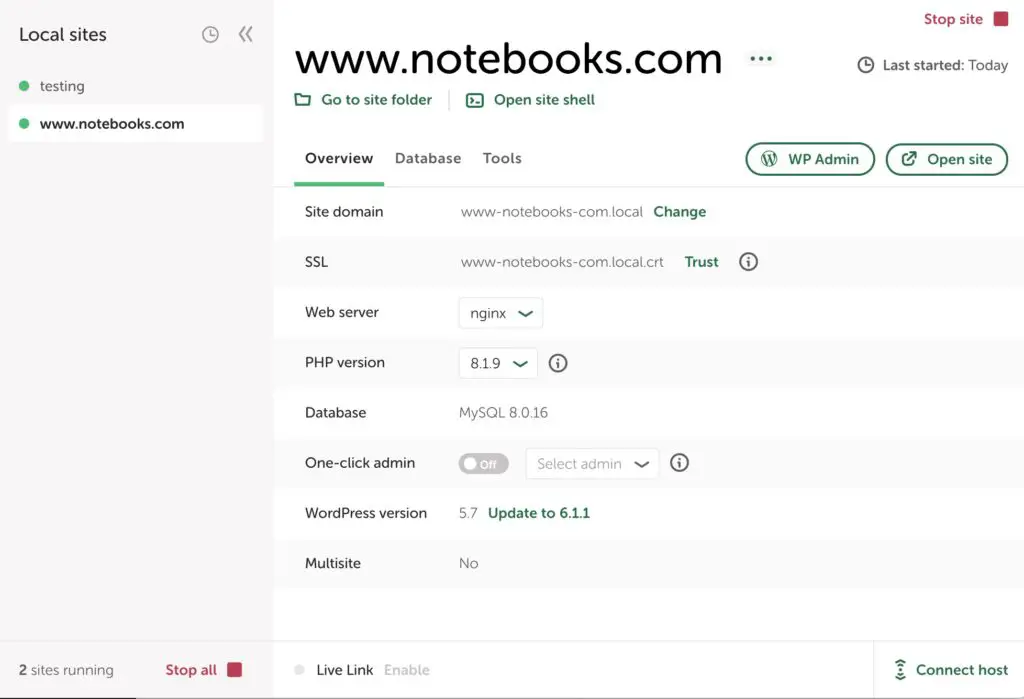
Overall, Local works smoothly and has a nice interface. If you are a Flywheel or WP Engine customer you can connect your live site to it for easier pushing and pulling between environments.
If you are more technical and don’t mind getting your hands a bit dirtier, you can try XAMPP, MAMP or WAMP. These work well, but will require a bit more effort to set up, and you’re likely to run in to some issue or other which will need troubleshooting along the way.


